Do you love getting pedicures and manicures? I do! But I don’t always get a lot of time to sneak away from the little one. The next best thing is to gather some really awesome products and do it yourself. Read some of my tips and steps for a DIY manicure and pedicure.


{Steps for a DIY Manicure and Pedicure}
Step #1
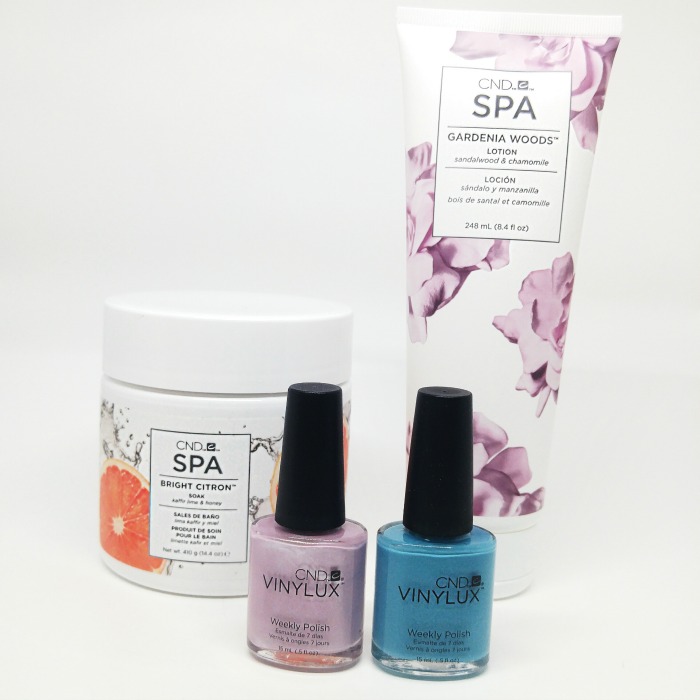
Fill a small bucket with warm water large enough to fit your feet. Add a foot soak to help moisturize your feet. Lately I’ve been using CND Spa Bright Citron Soak, which has a great summery scent! Remove any old polish from your toes. Soak your feet and relax with a good magazine!
Step #2
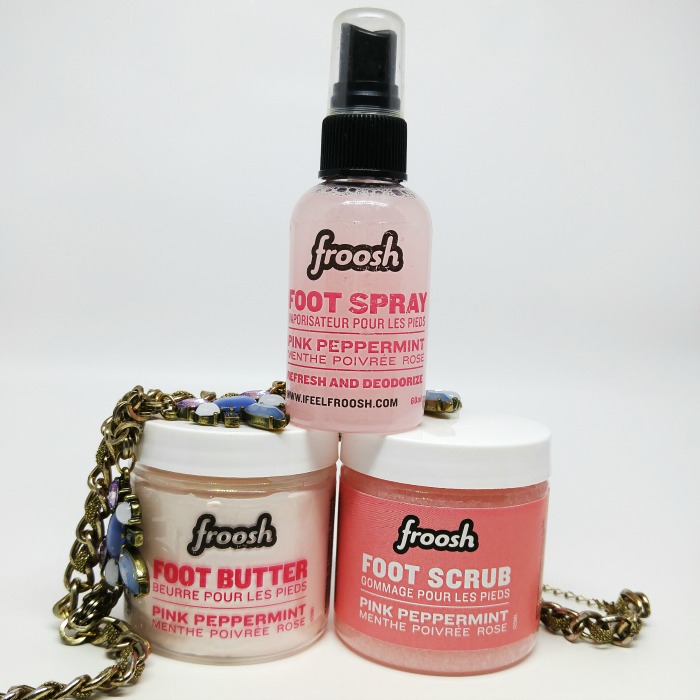
After soaking your feet for about 10 minutes use a pumice stone to remove all the dead skin. If needed, clip your nails and clean up your cuticles. Exfoliate your feet with your favourite foot scrub. I’m loving the Pink Peppermint Scrub by Froosh! It smells so nice and refreshing and feels great on the skin. Sonia Roselli “SexaPeel” is another great product to try. It works well to remove unwanted dead skin.
Step #3
After the foot prep rinse any remaining products off with cool water and dry your feet off. Moisturize your feet with a rich foot butter. Try the Pink Peppermint Foot Butter by Froosh. It’s very rich, thick and creamy; it’s the perfect way to massage and pamper sore feet and legs!
Step #4
To remove any residue left from the foot butter, use a little bit of polish remover to go over the nails. This will remove any residue from the foot butter which can prevent colour from sticking. CND Vinylux Weekly Polishes are a great choice for a long lasting pedicure!
Step #5
To start your manicure file and shape your nails. Wash your hands thoroughly, dry them off and moisturize with your favourite moisturizer. The Gardenia Woods Lotion by CND is a great choice! It smells amazing and I’m always a sucker for a great scent! Use a little cuticle oil all over the nails to treat them. Next, remove any excess residue with polish remover. Again, paint your nails with your favourite polish.
